Medieval Village Music – Lute, Hurdy-Gurdy and Fiddle (Loops + Stings)
Overview
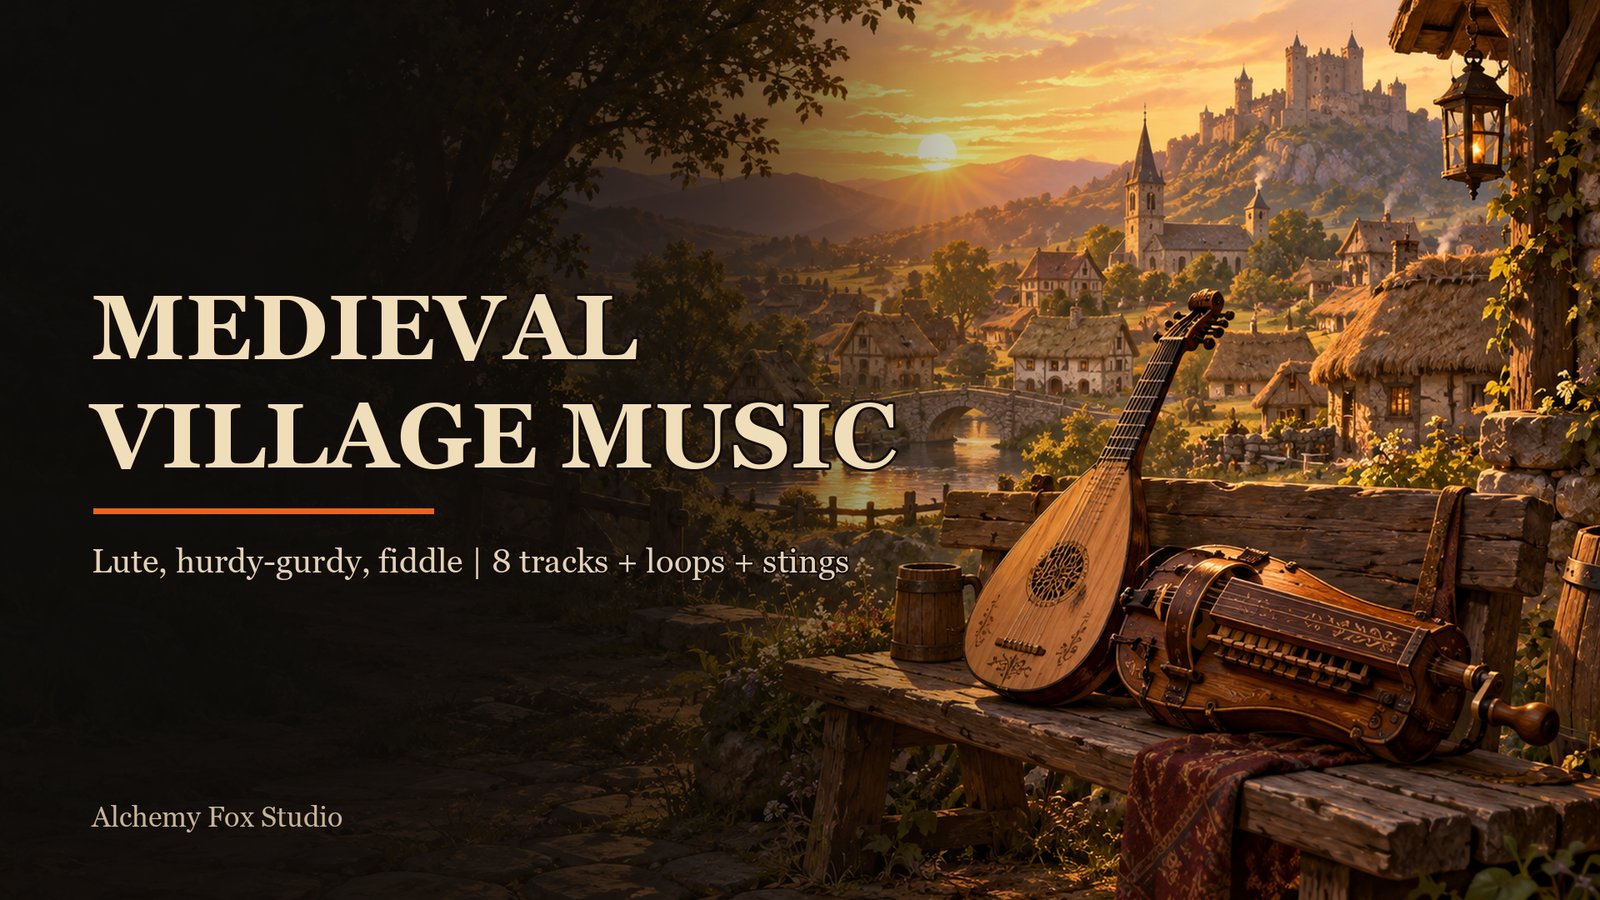
Eight medieval tracks for farms, villages and country roads, played on lute, hurdy-gurdy, fiddle, frame drum, recorder and a bagpipe drone. Every track ships as a full version and a seamless loop, so it can run under gameplay for as long as the player stays in an area.
This guide covers the contents of the pack, the audio specs, and how to use the files in Unreal Engine. It includes five worked examples.
Preview player
Previews are 60 seconds and carry a voice watermark. The pack contains the full tracks without watermark. Sting previews are shorter than 60 seconds.
What's included
The Unreal Engine project files contain 20 Sound Waves per engine version: 8 full tracks, 8 seamless loops and 4 stings (about 27 minutes of full tracks). They are Sound Waves only. There are no Sound Cues, Blueprints, code or plugins.
Tracks
| # | Track | Full length | Loop length |
|---|---|---|---|
| 01 | Main Theme | 3:49 | 1:32 |
| 02 | Explore Day | 3:17 | 1:54 |
| 03 | Explore Night | 4:23 | 0:49 |
| 04 | Town | 2:32 | 1:18 |
| 05 | Tension | 3:17 | 0:52 |
| 06 | Combat | 3:36 | 1:25 |
| 07 | Sorrow and Victory | 2:47 | 1:14 |
| 08 | Travel | 3:22 | 2:21 |
Stings
| Sting | Length |
|---|---|
| Theme | 9 s |
| Combat End | 8 s |
| Victory | 12 s |
| Sorrow | 9 s |
Asset list (Unreal Engine)
FoxMedievalMusic/
  Village/
    Music/   (8 full tracks)
      SW_Village_01_MainTheme
      SW_Village_02_ExploreDay
      SW_Village_03_ExploreNight
      SW_Village_04_Town
      SW_Village_05_Tension
      SW_Village_06_Combat
      SW_Village_07_SorrowVictory
      SW_Village_08_Travel
    Loops/   (8 loops)
      SW_Village_01_MainTheme_Loop
      SW_Village_02_ExploreDay_Loop
      SW_Village_03_ExploreNight_Loop
      SW_Village_04_Town_Loop
      SW_Village_05_Tension_Loop
      SW_Village_06_Combat_Loop
      SW_Village_07_SorrowVictory_Loop
      SW_Village_08_Travel_Loop
    Stings/  (4 stings)
      SW_Village_Sting_Theme
      SW_Village_Sting_CombatEnd
      SW_Village_Sting_Victory
      SW_Village_Sting_Sorrow
The separate WAV download contains the same 20 files as WAV: the 8 full tracks and 8 loops in one folder, and the 4 stings in a Stings folder. File names start with FoxMedieval_Village_, for example FoxMedieval_Village_01_MainTheme.wav and FoxMedieval_Village_01_MainTheme_Loop.wav.
Technical specs
| Item | Value |
|---|---|
| Audio format | WAV, stereo |
| Sample rate | 48 kHz |
| Bit depth | 24 bit |
| Loudness | -16 LUFS for tracks and loops, -14 LUFS for stings |
| True peak | Below -1 dBFS |
| Unreal assets | 20 Sound Waves (prefix SW_) |
| Looping flag | Enabled on the 8 loop Sound Waves |
| Content path | /Game/FoxMedievalMusic/Village/ with Music, Loops and Stings |
| Engine versions | Unreal Engine 4.27, 5.2, 5.3, 5.4, 5.5, 5.6, 5.7, 5.8 (separate project files per version) |
| Dependencies | No code, no plugins, no dependencies |
All tracks are loudness matched, so you can swap one for another without a volume jump.
Getting started in Unreal Engine
Add the pack to a project
- Open the Epic Games Launcher and go to your Fab Library.
- Find Medieval Village Music and pick the engine version that matches your project.
- Click Add to Project (or Create Project to start a new one) and choose your project.
- Open the project. The files are in the Content Browser under
FoxMedievalMusic/Village.
Each project file download contains one pack only. If you use another engine or tool, download the WAV package and import the files there. In Unreal Engine you can also drag the WAV files into the Content Browser. In that case, open each loop file afterwards and enable Looping (see Example 2).
Where the assets land
Everything is under /Game/FoxMedievalMusic/Village/:
Music: the 8 full tracks (Looping off).Loops: the 8 loop versions (Looping on).Stings: the 4 short stings (Looping off).
The examples below use Blueprints and the UE5 editor. Replace the asset names if you use another pack folder.
Example 1: Play a track
Goal: start a full track when the level begins and play it once.
- Open the Level Blueprint (Blueprints > Open Level Blueprint) or any Actor Blueprint.
- Right-click the graph and add Event BeginPlay.
- Drag from its exec pin and add Play Sound 2D.
- In the Sound pin, select
SW_Village_01_MainTheme. - Compile and press Play. The Main Theme plays once and stops at the end.
- To start another track when this one ends, use Spawn Sound 2D instead of Play Sound 2D. It returns an Audio Component. Drag from the return value, add Assign On Audio Finished, and connect a second Spawn Sound 2D with
SW_Village_02_ExploreDay_Loopto the new event.
Play Sound 2D has no return value. Use Spawn Sound 2D whenever you want to stop, fade or change the sound later.
Example 2: Seamless looping
Goal: a background track that repeats without a gap for as long as the player stays in an area.
- In the Content Browser, open
FoxMedievalMusic/Village/Loops. - Double-click
SW_Village_02_ExploreDay_Loop. In the Details panel find Looping and check that it is enabled. It is already on in the project files. - In a Blueprint, add Event BeginPlay and connect Spawn Sound 2D.
- Set Sound to
SW_Village_02_ExploreDay_Loop. Leave Auto Destroy off if you want to reuse the component. - Right-click the Return Value and choose Promote to Variable. Name it
AreaMusic. - When the player leaves the area, drag
AreaMusicinto the graph and call Stop (or Fade Out, see Example 3).
The _Loop files are cut so the end joins the start. The full tracks are not meant to be looped: use them for menus, cutscenes or one-time playback.
Example 3: Crossfade from exploration to combat
Goal: fade out the exploration loop and fade in the combat loop when a fight starts, and go back when it ends.
- Create a new Actor Blueprint: Add > Blueprint Class > Actor. Name it
BP_MusicManager. - In the Components panel click Add and add an Audio component. Rename it
ExploreMusic. In Details set Sound toSW_Village_02_ExploreDay_Loop. - Add a second Audio component named
CombatMusicwith Sound set toSW_Village_06_Combat_Loop. Uncheck Auto Activate on this one. Uncheck it onExploreMusictoo, because the Blueprint starts it with Fade In. - Do not assign an Attenuation Settings asset if you want the music to be heard everywhere.
- Open the Event Graph. Add Event BeginPlay, drag in
ExploreMusicand call Fade In with Fade In Duration 2.0 and Fade Volume Level 1.0. - Right-click and add a Custom Event named
EnterCombat. - From
EnterCombat: call Fade Out onExploreMusicwith Fade Out Duration 2.0 and Fade Volume Level 0.0. A level of 0.0 stops the sound when the fade ends. - In the same chain call Fade In on
CombatMusicwith Fade In Duration 2.0 and Fade Volume Level 1.0. - Add a second Custom Event named
ExitCombatand do the reverse: Fade Out onCombatMusic, Fade In onExploreMusic. - Place
BP_MusicManagerin the level. From your combat code, call Get Actor Of Class (classBP_MusicManager) and thenEnterCombatwhen a fight begins andExitCombatwhen it ends.
The tracks have different tempos, so use a fade of 1.5 to 3 seconds. A slow fade hides the tempo change better than a short one.
Example 4: Use stings on events
Goal: play a short sting when a fight ends in victory.
- Open the Blueprint that handles the end of a fight.
- At the point where the player wins, add Play Sound 2D.
- Set Sound to
SW_Village_Sting_Victory(12 seconds). - Before the Play Sound 2D node, fade out the combat loop: call Fade Out on
CombatMusicwith a Fade Out Duration of 0.5 and Fade Volume Level 0.0. - Other stings in the pack:
SW_Village_Sting_Theme(9 s),SW_Village_Sting_CombatEnd(8 s) andSW_Village_Sting_Sorrow(9 s). UseSting_Sorrowfor a defeat or a loss.
Stings are not looped. Play Sound 2D is enough for them, because you do not need to stop them.
Example 5: Duck the music under a sting or dialogue
Goal: lower the music for a moment and bring it back, without stopping it.
- Take the running music component, for example the
AreaMusicvariable from Example 2. - Call Adjust Volume on it. Set Adjust Volume Duration to 0.5 and Adjust Volume Level to 0.3.
- Play your sting or dialogue with Play Sound 2D.
- Add a Delay node with the length of the sting (for example 9 seconds for
SW_Village_Sting_Theme). - Call Adjust Volume again with Adjust Volume Duration 1.5 and Adjust Volume Level 1.0.
The music keeps running at the lower level, so the loop does not restart.
FAQ
Which files should I use during gameplay?
Use the _Loop files for anything that runs while the player stays in an area. Use the full tracks for menus, cutscenes and one-time playback.
Does the pack include Sound Cues?
No. The project files contain Sound Waves only. Examples 1 to 5 use Blueprint nodes and Audio Components.
Can I use the music in another engine?
Yes. Download the WAV package. It holds the 20 files as 48 kHz, 24 bit stereo WAV. You have to set up looping in your own engine.
Why do the previews sound different from the pack?
Previews are 60 seconds and carry a voice watermark. The pack contains the full tracks without watermark.
Which Unreal Engine versions are supported?
Unreal Engine 4.27, 5.2, 5.3, 5.4, 5.5, 5.6, 5.7, 5.8. Each version has its own project file download.
License and support
Covered by the Fab Standard License.
Support: support@alchemy-fox.de
By Alchemy Fox Studio.